This is our go to recipe for cut out biscuits, thank you Nigella. Its fool proof and my child loves making them with me.


Behind the scenes! A space to document adventures as Wife, New Mummy and Owner of BAKED BY ME, www.bakedbyme.net

03 Jul 2019 Leave a comment
This is our go to recipe for cut out biscuits, thank you Nigella. Its fool proof and my child loves making them with me.
19 Dec 2018 Leave a comment
in Children Activities, Christmas, Cookies, Mummy Iris, Recipe Tags: butter cookies, cookie cutter cookies, cookie recipe, cut out cookies, festive cookies
Its that time of the year where we use our oven frequently and our home smells lovely! My big girl was super excited to make some festive cookies for family and friends. We have been bringing lots of baked goodies from brownies to biscuits for the children’s Christmas parties and she was so proud telling everyone she made them.
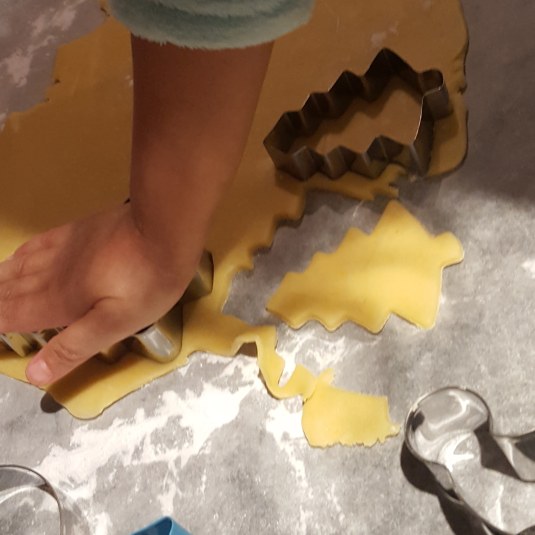
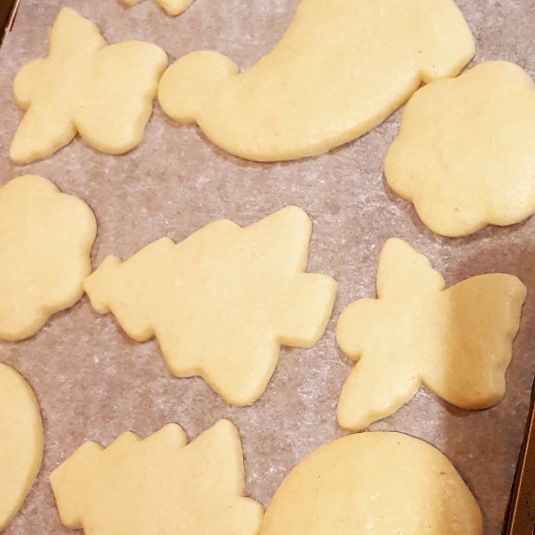
I wanted to share our go to recipe for cut out cookies! Its buttery, holds it shape and its made with ease. Another fool proof recipe for the children to mess about with. Thank you Nigella! An indispensable cookie recipe. We used cutters of my child’s choice. Hence, possibly every cutter we own. God bless the brother who had to wash and store them for us.
175g soft butter
200g caster sugar
2 large eggs
1 teaspoon vanilla extract
400g flour
1 teaspoon baking powder
1 teaspoon salt
Mix the butter and sugar together, then whisk in the eggs and vanilla. Add the flour, baking powder and salt. Honestly, we used a normal whisk. It works. Rest in the fridge for at least 1 hour. Preheat the oven to 180ºC/160°C Fan/gas mark 4/350ºF when you are ready to make the biscuits.
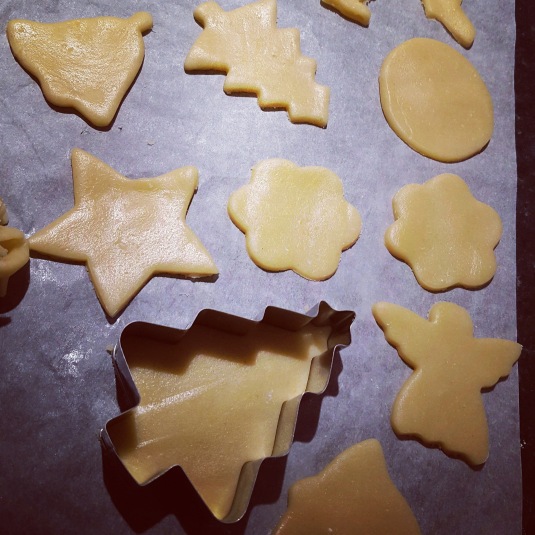
Sprinkle a suitable surface with flour, place your dough on it. Then roll it out to a thickness of about ½ cm. Cut into shapes.
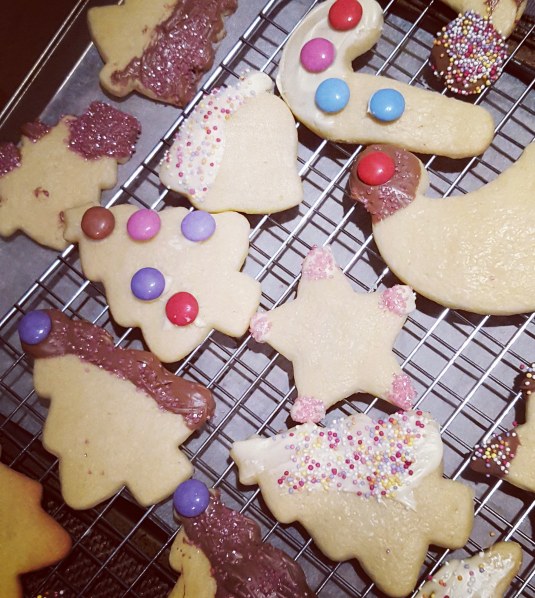
Bake for 8–12 minutes, by which time they will be lightly golden around the edges. Cool on a rack and continue with the rest of the dough.Allow to cool completely before letting the child run wild with their creative juices. You can use icing sugar to ice your cookies or you can opt for chocolate like us 🙂

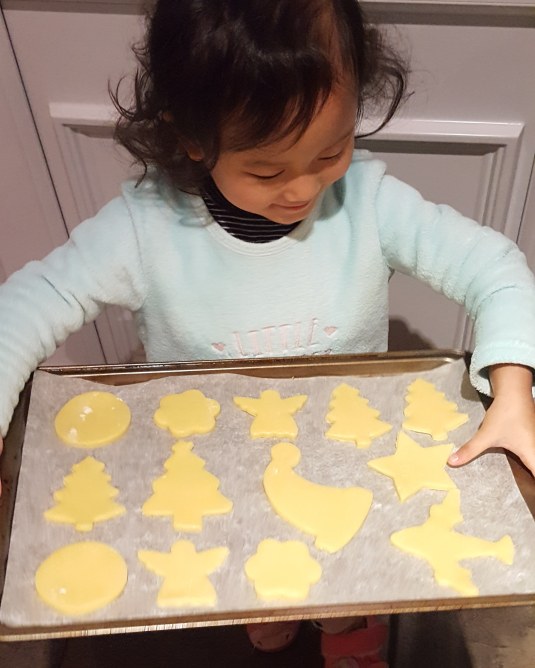
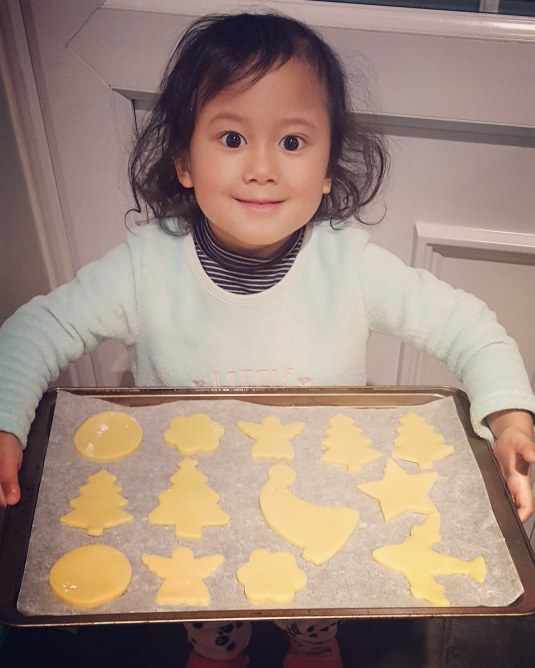
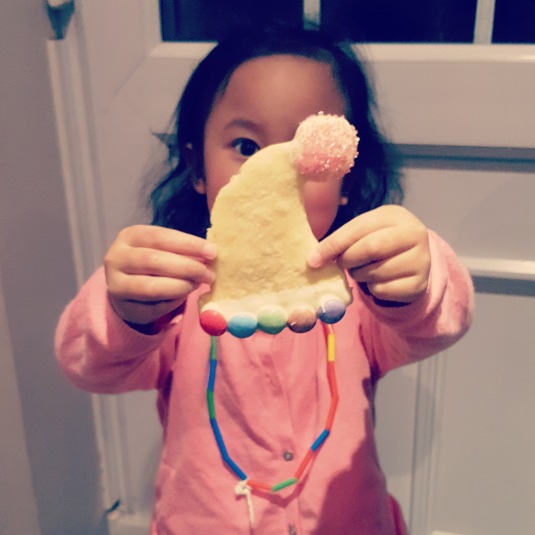
Bless, just look at her face! Well worth the baking mess. They emerged from the oven beautifully, have a peek..
We then melted some chocolate and left the decorating to the child. Topping overload 🙂 More like an explosion of glittery sugar and hundreds of thousands.

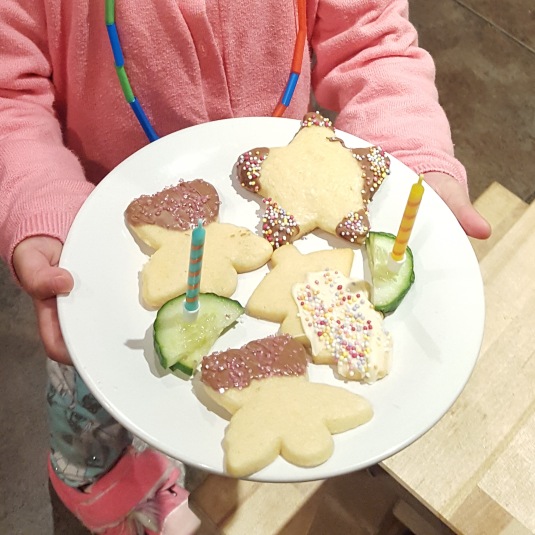
Coincidentally, it was also the husbands birthday. He gets festive cookies and a very excited rendition of Happy Birthday by our 4 year old … Candles blown out by said child haha. She also led the 3 cheers with much gusto. HIP HIP …. HOORAY! Ps. like our innovative candle holders?


Do try the recipe and hope you enjoy lots of festive bakes and mince pies over Christmas. xxx
26 Nov 2018 Leave a comment
in Bakeware & moulds, Baking gifts, Children Activities, Recipe, Sale!
On Cyber Monday, our very versatile Christmas Combo mould is on offer at 99 pence. Ps. we have free UK delivery on all orders over £25 and flat rate UK delivery at £2.99. We post worldwide and delivery is based on weight. Delivery to Europe is £3.85 for 250g which is usually 2 moulds and to USA and surrounding countries £4.85 for 250g, Australia £5.15. Do message us if you have any queries, I am always happy to help. You can visit our Facebook page or email us at hello@bakedbyme.net . Have a fantastic week ahead.
Yes yes, it is very early but we HAVE to start early as it just gets exceptionally manic closer to Christmas and my baby is due in November. We will just have to be extra organised this year to avoid dissapointing you 😉 We have released our new Xmas Combo mould and have posted loads out to you already.
Introducing our new Xmas Combo mould available on HERE. This is a fab buy for £3.99 just because there’s so many designs on a mould. Santa, snowman, stocking, Xmas tree, candy cane and gift or parcel.
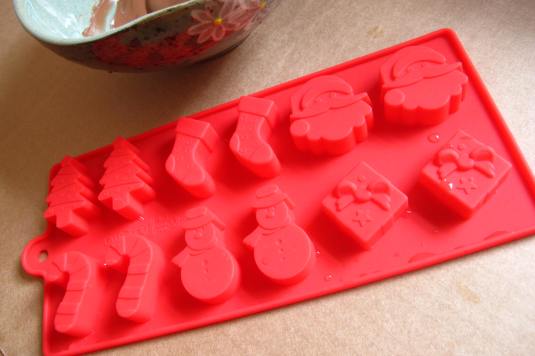
They are really easy to use. Here’s proof 🙂 We carefully spooned melted choc in the cavities. This can get really messy. Imagine choc all over the mould. Not to fret, I used a little teaspoon and my fingers to clean up the sides haha! Some people prefer piping the chocolate in. Remember to…
View original post 93 more words
24 Nov 2018 Leave a comment
in Cakes, Recipe Tags: crepe, crepe cake, millecrepe, no bake cake, strawberry crepe cake
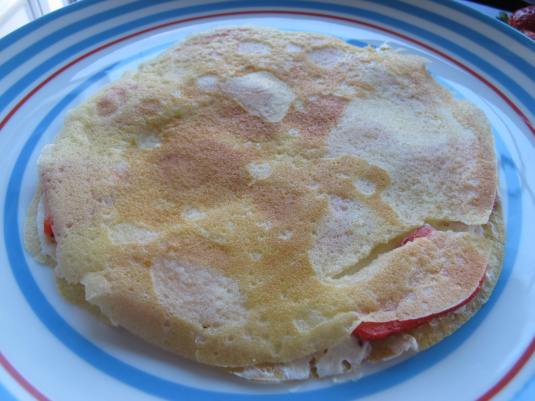
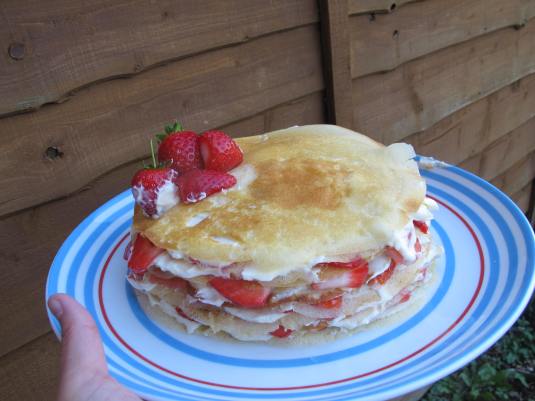
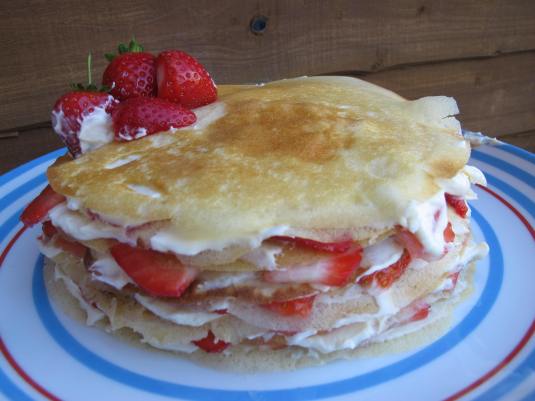
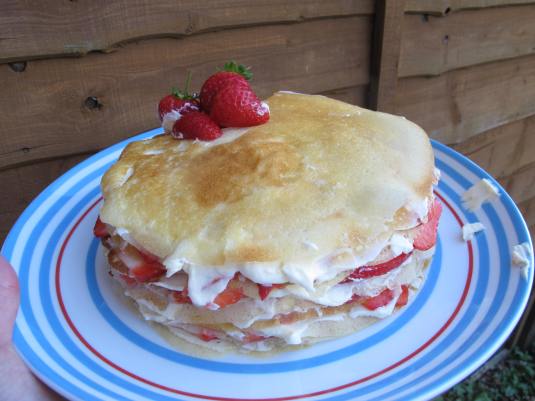
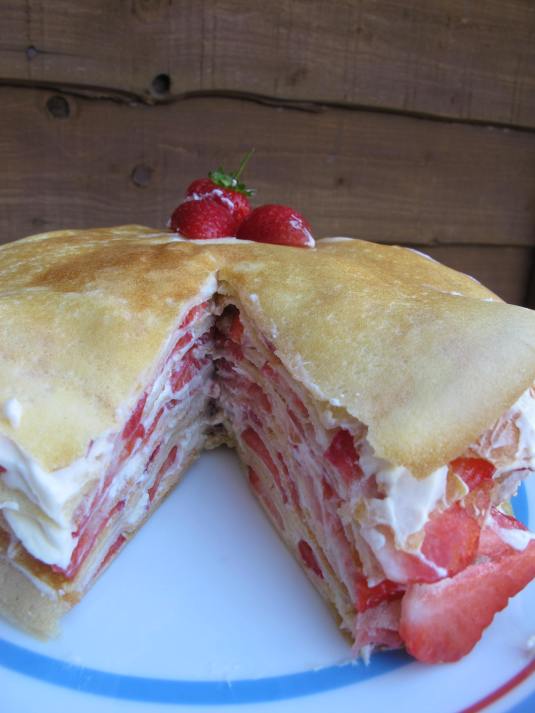
Decadent. Elegant! This fancy looking Strawberry Crepe Cake is a light and delicious no bake cake. I was hoping to say that it was a delight to make but I practically screamed at my horrendous attempts at making crepes that were not too thick, burnt, holey, you name it! BUT it is totally doable once you get the hang of it. I tossed quite a few layers of crepe straight into my mouth but the cake was still quite tall. Do not fret too much, it still looks decent. Ps. you don’t need to have perfectly round crepes too as the ruffles give it character. The cake was fun to assemble and that made up for the rough start. I am a new fan of this millecrepe cake as its quite forgiving. It is capable of hiding plenty of imperfections 😉 I hope you will give this cake a shot in your own kitchen, its worth it. Mmmmm!
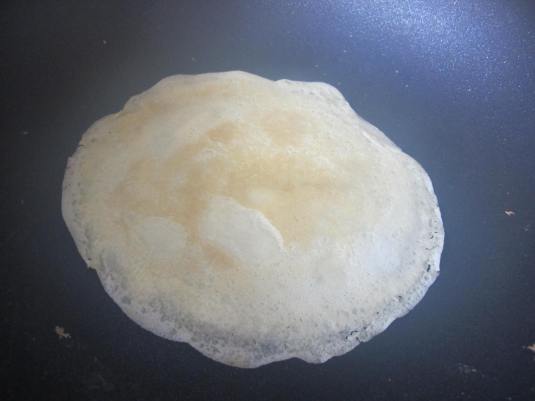
400ml milk
2 eggs
1 cup all-purpose flour
2 tablespoons granulated sugar
1/2 teaspoon baking powder
2 tablespoons butter – melted
1/2 teaspoon vanilla extract
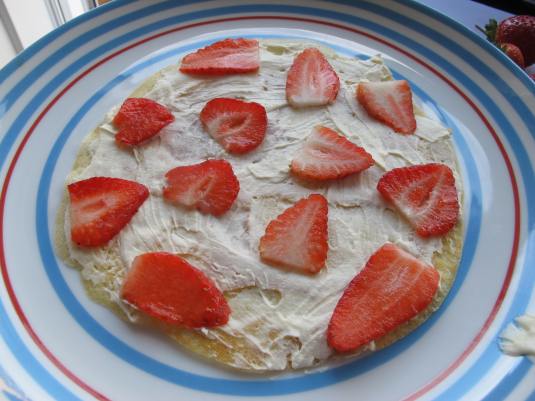
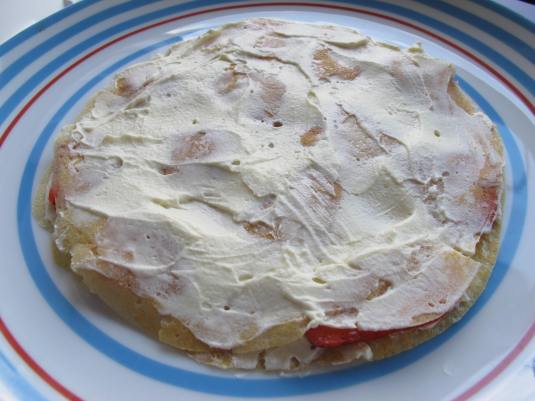
Filling
1 cup double cream
2 tablespoons granulated sugar
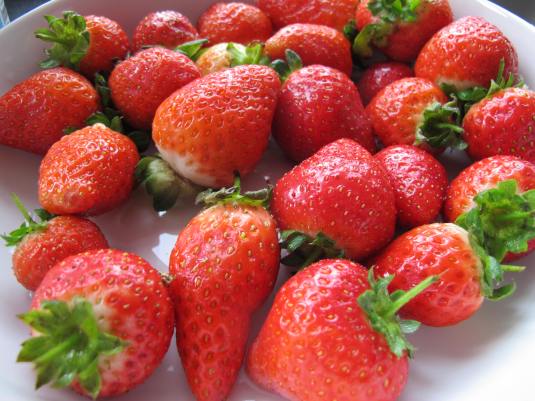
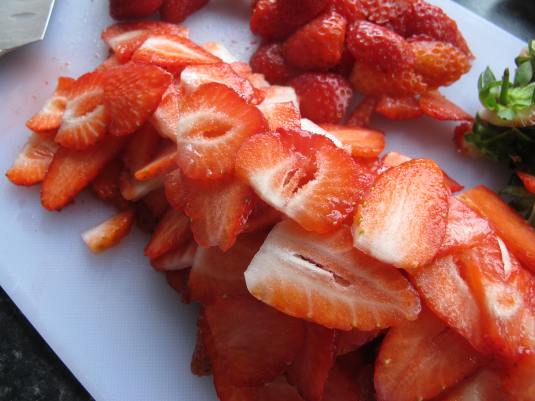
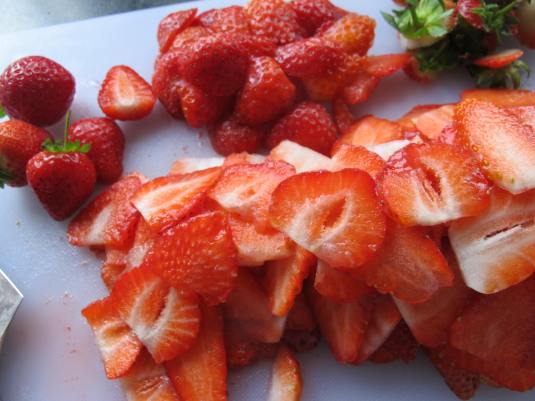
400g strawberries
When its all done, this Crepe Cake sure looks and taste impressive. Enjoy xxx
12 Nov 2018 Leave a comment
in Family, Motherhood, Mummy Iris
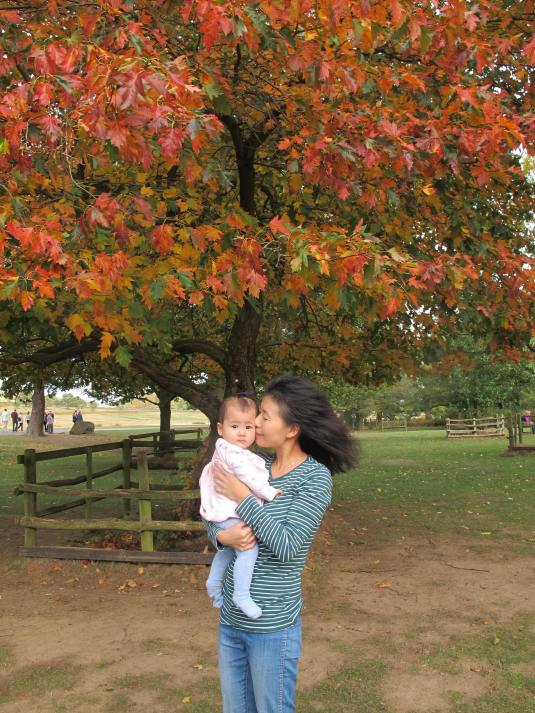
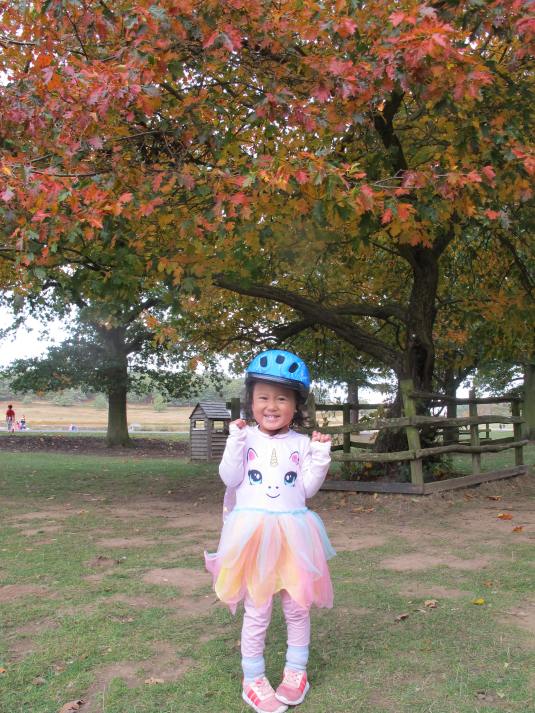
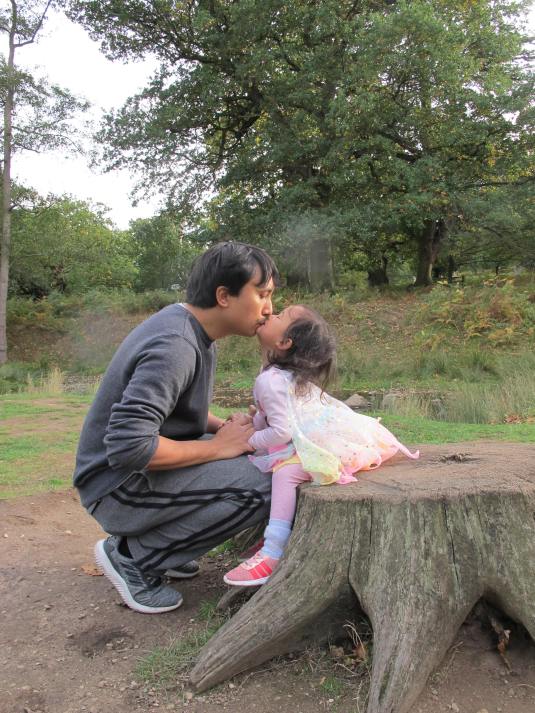
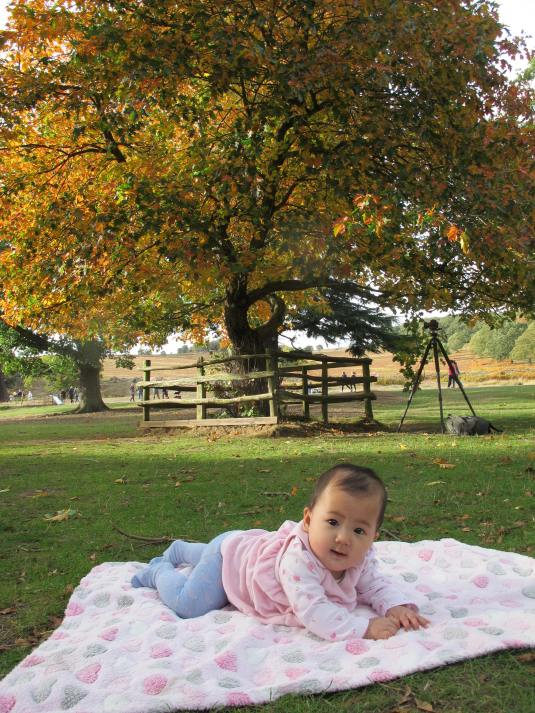
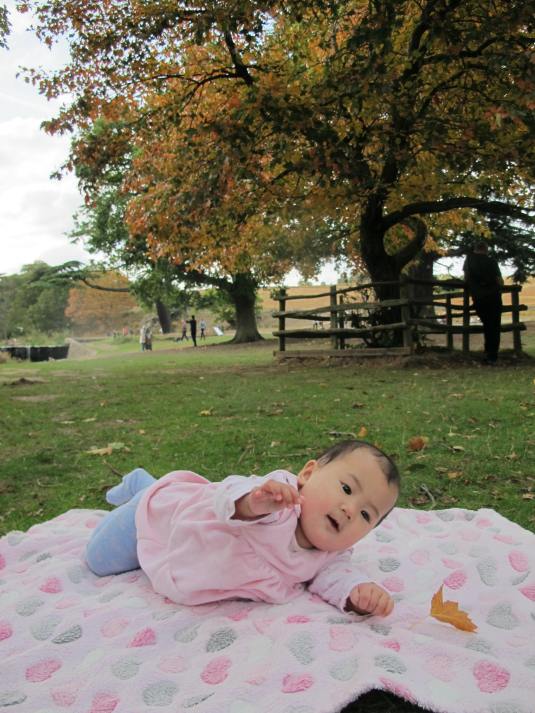
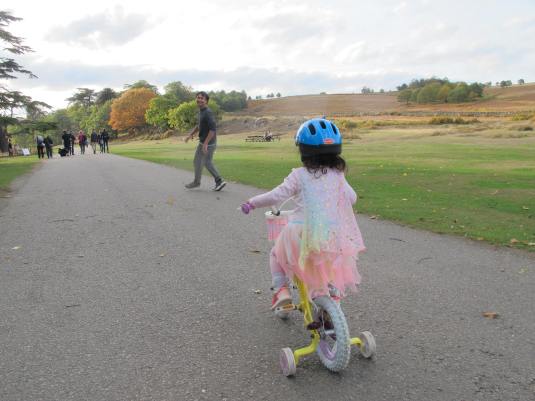
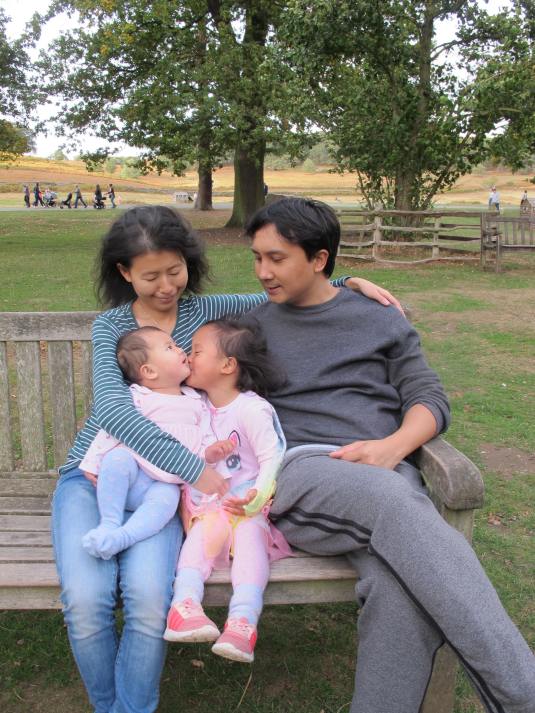
Hello lovely people on my blog. Lately, I am definitely making more of an effort to document my camera snaps, so do drop by from time to time if you enjoy taking a sneak peek into our family adventures.
I saw this on Instagram the other day and I learnt something new. Who knew that the end of autumn is actually in December. Fun fact : It officially falls on the 21st of December this year. When it gets really chilly, I just assumed winter’s here. Whoops.
Another Autumn themed post today! These glorious pictures were taken at the beautiful Bradgate Park. We love going to the park at weekends for the child to run wild and free. She adores taking her bicycle or scooter out and I am thrilled for her too as her dad is there to help and race with her. I just relax with the baby. Win win!


03 Nov 2018 Leave a comment
in Halloween, Recipe Tags: chinese desserts, pumpkin cake, pumpkin recipe
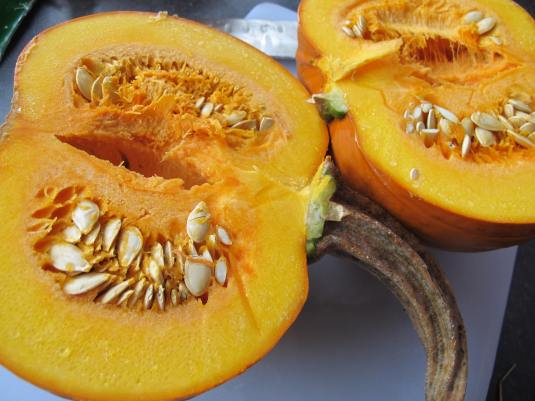
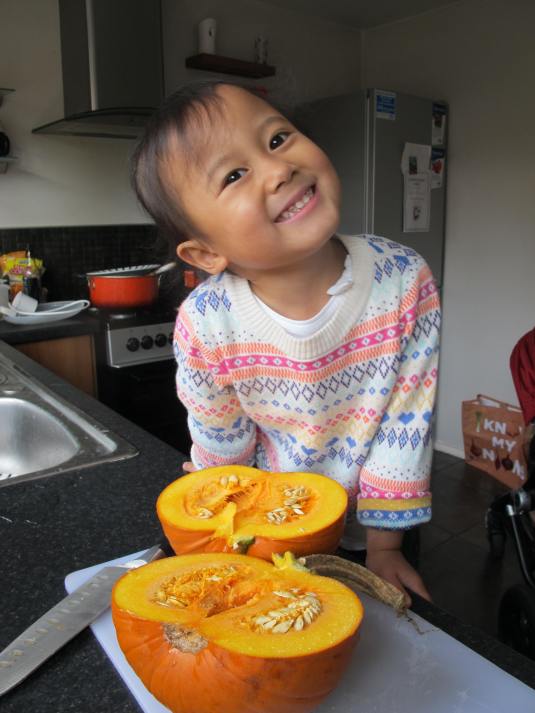
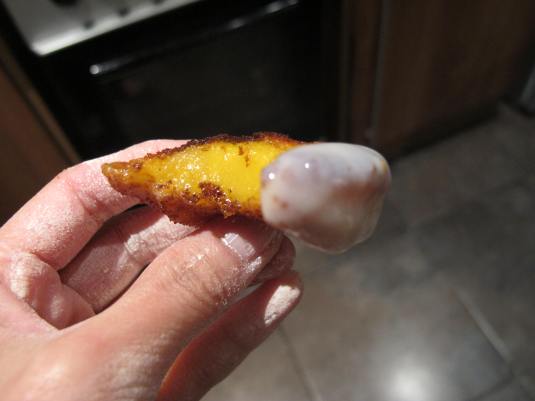
Leftover pumpkins anyone? We made an interesting traditional Chinese dessert with ours. We tried it once in a Chinese restaurant and it was delightful. Attractive golden colour glistening with oil and very scrumptious. Slightly crispy on the outside and soft on the inside.
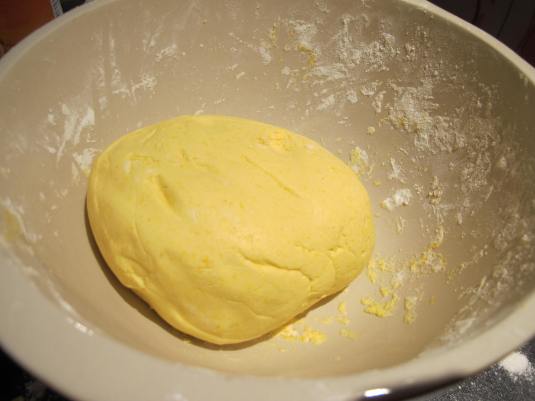
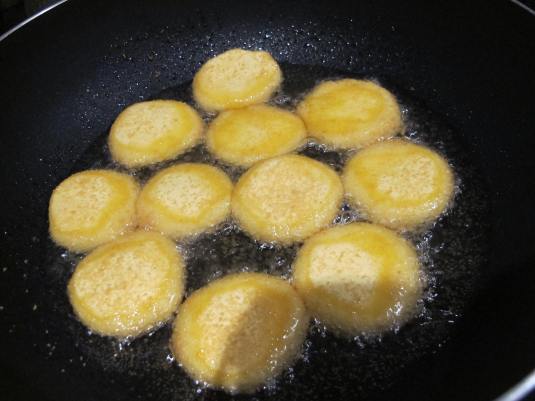
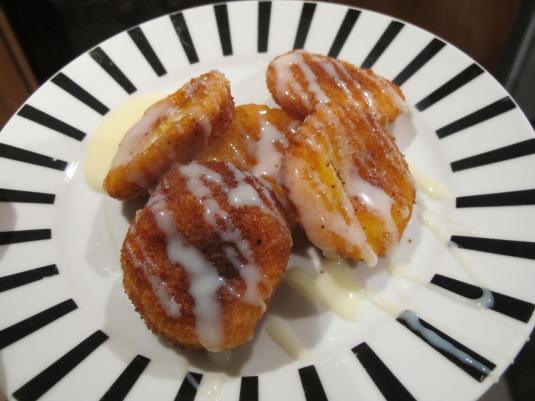
The recipe is straightforward and the child enjoyed making them together with me. First, cut your pumpkin into thin slices. Steam your pumpkin slices for 10 minutes. Mash into a puree. Add in the glutinous rice flour and sugar. The dough is of a lovely texture and she helped me roll them into little balls, flattened them and then coat them with breadcrumbs. Remember to coat both sides. Pour the oil in a pan and heat the oil. Fry the pumpkin cakes to a golden brown on both sides. Drain excess oil off the cakes onto a kitchen towel. Don’t forget to eat them hot. We drizzled ours with condensed milk and its the best combination.
500g Pumpkin
450g Glutinous Rice Flour
2 tablespoons White Sugar
Bread crumbs – enough to coat the small cakes
Oil – to fry the pumpkin cakes
Condensed milk – a small can
31 Oct 2018 4 Comments
in Children Activities, craft, Picture tutorials Tags: autumn craft, autumn crafts, autumn wreath, conkers
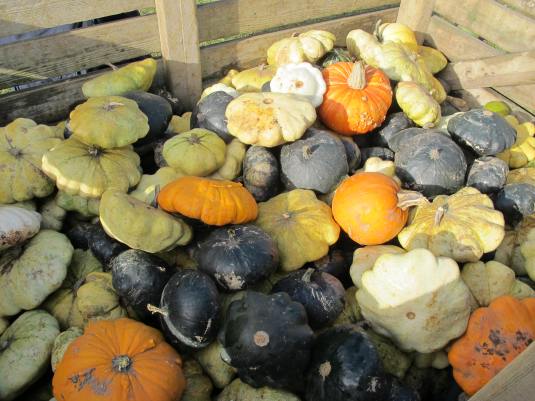
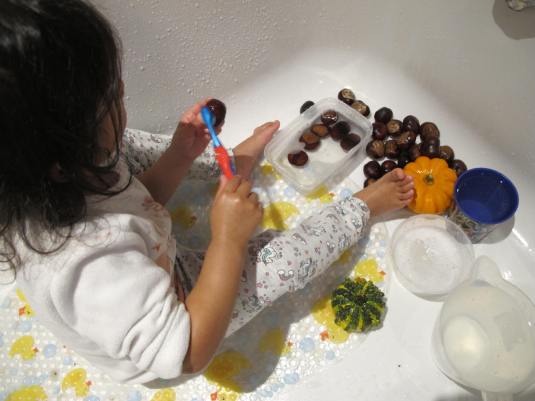
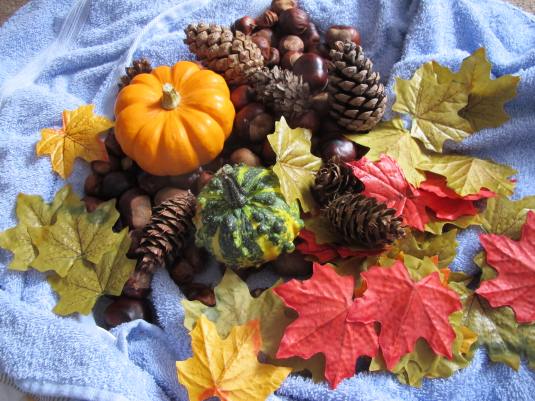
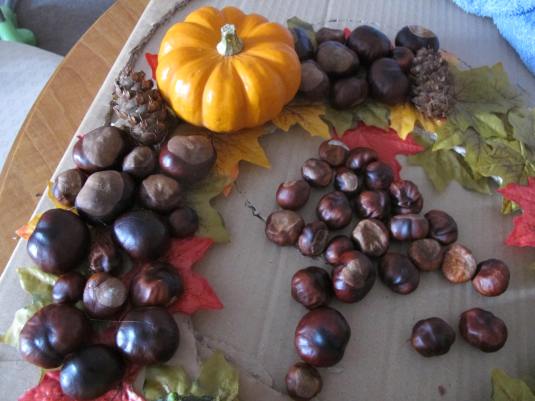
Fall may be one of my favourite seasons at the moment. I have never really paid much attention to it till the child came along. Don’t get me wrong, I have always appreciated the beauty. Love the various shades of autumn leaf colours, falling leaves and the crisp refreshing air but I have never truly experienced autumn till I shared the season with my daughter. An eye opening experience! Such innocence and joy when they discover autumn and they genuinely take it all in with great enthusiasm from having races with her friends through the leaves, rolling around in them, squirrel spotting and her absolute favourite ‘treasure hunting’. We have hundreds of conkers in little boxes and a handful of acorns and pine cones. All part of her autumn treasure collection. Oh how I burst into laughter when she came home from pre-school and told me ‘Mummy, look in my school bag. I have a surprise for you’. Her bag was filled to the brim with autumn leaves. She refused to chuck them and kept them in a box too. We also had lots of pumpkin fun leading up to Halloween. We treated her to a few tiny pumpkin, squash and gourds and she was so proud of them.
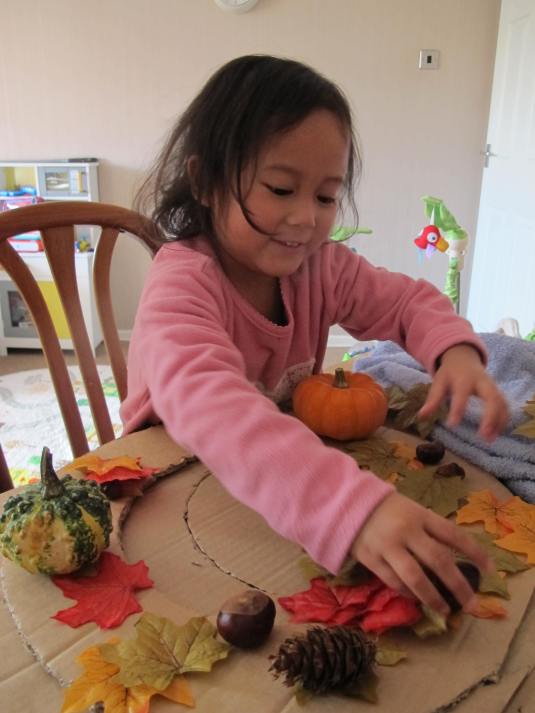
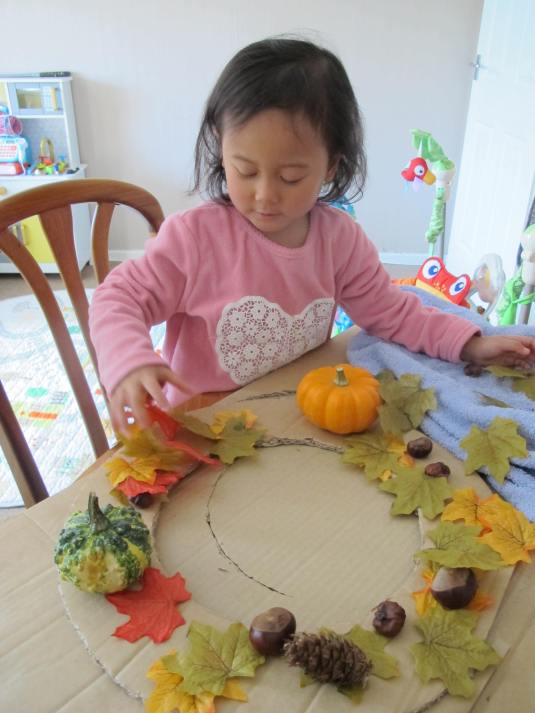
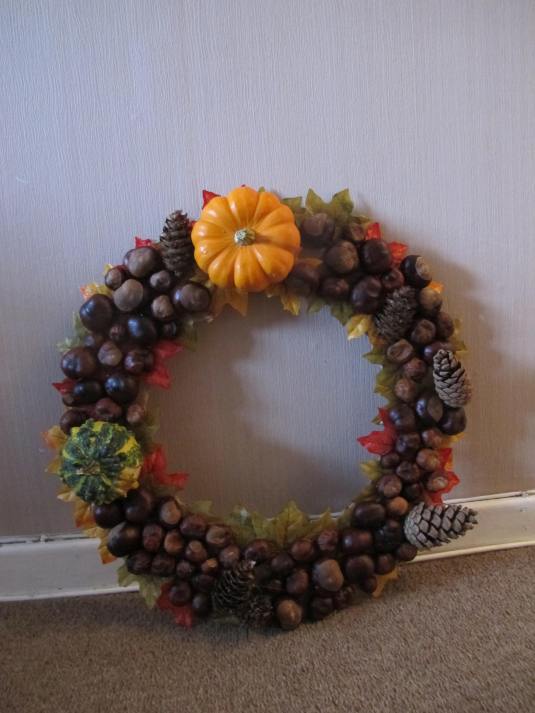
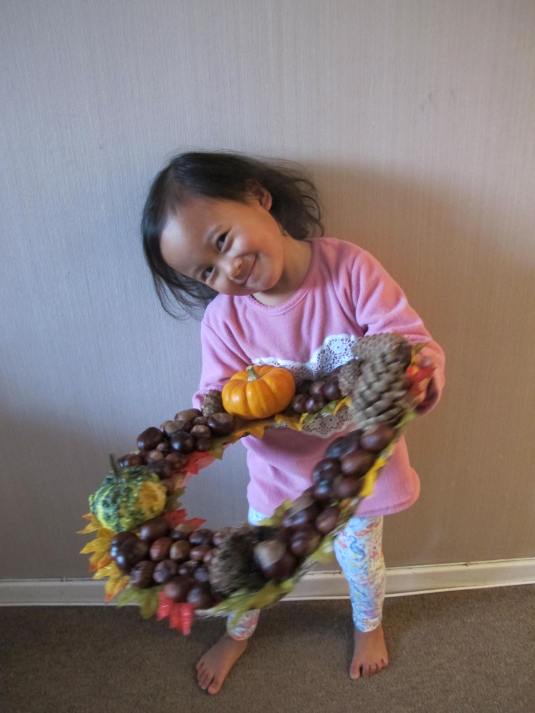
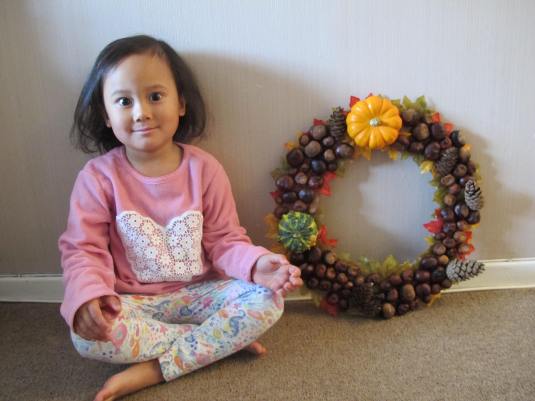
One day, she came running home from school with a ‘note’. There is a parent child Autumn Wreath Competition much to her delight. She is a child who loves homework of any sort. Odd child alert. She immediately mentioned she was going to make one filled with conkers from her collection. Hoorah! What a fabulous idea little one. All I need was a glue gun.. Amazon to the rescue!
Surely every mum needs a glue gun. At long last, I am a proud owner of one now. . No more faffing about with the silly glue stick. This wreath project kept her busy for a few days. We did it in stages. We cut out a cardboard box as the base of our wreath. I also assigned her the task of cleaning all her conkers. She loved scrubbing them with soap and an old toothbrush haha. We had to chuck out her leaves as they were all gross and mouldy. We found a brilliant pack of fake autumn leaves at The Works for a quid. She arranged her treasure on the wreath base and I stuck it on. Voila! The end result surprised me. It looked fabulous even if I were to say so myself. Enjoy the pictures.
29 Oct 2018 2 Comments
in Children Activities, Family, Out and About Tags: cattows farm, pumpkin patch, pumpkin picking
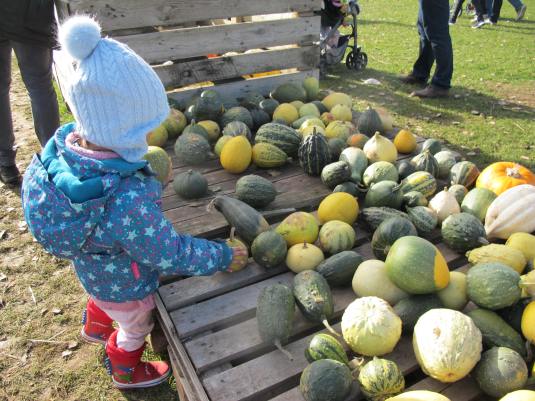
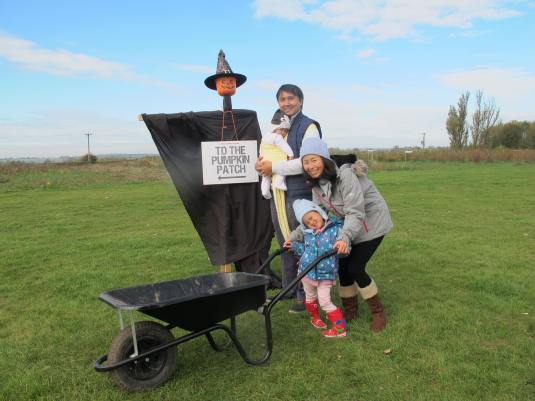
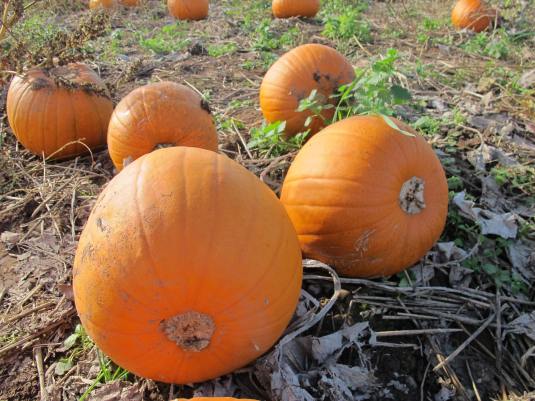
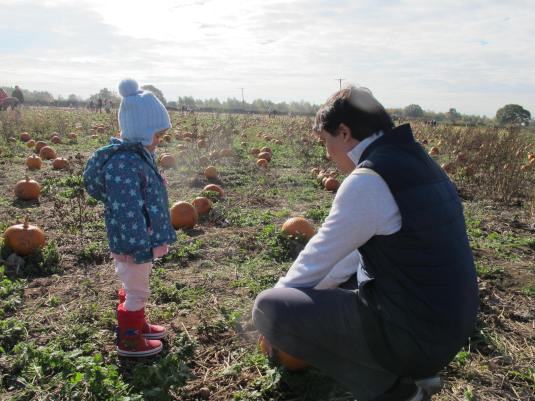
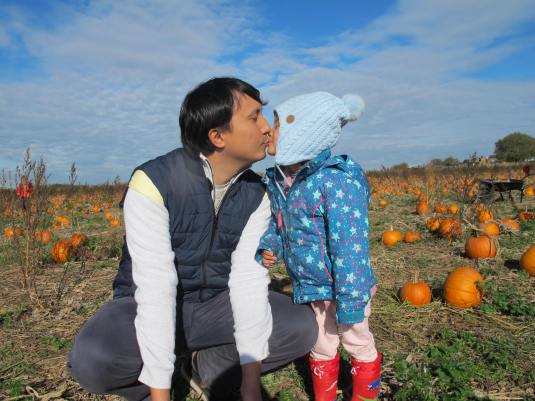
For the last 3 years, we have taken our eldest child to Cattow’s Farm for our annual pumpkin picking day and every year they have made it bigger and better. This year, they have really outdone themselves. Superb family day out. It was busy, jam-packed with humans yet it did not feel too hectic. Thank goodness they had a bigger carpark and lots of activities to keep the children very excited and happy like bouncy castles, face painting, pedal powered tractors and more.
Flashback time, oh I love looking back at old pictures and blog posts. Time really does fly by and I feel like I am starting to forget so many precious memories (already!) especially since we were blessed with another child. People will ask, so when did your eldest crawl or walk and I have to really crack my head to recall. Blimey and this is with 2 children. Documenting our memories is definitely worthwhile, so come on Iris. Write more 😉
2016 – Peek at our delightful 2 year old’s first experience at the pumpkin patch HERE.

2017 – 3 year old bubba and soon to be big sister! Aaaah, bump pics.
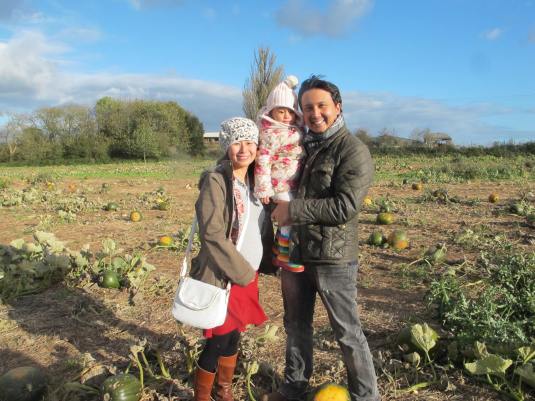
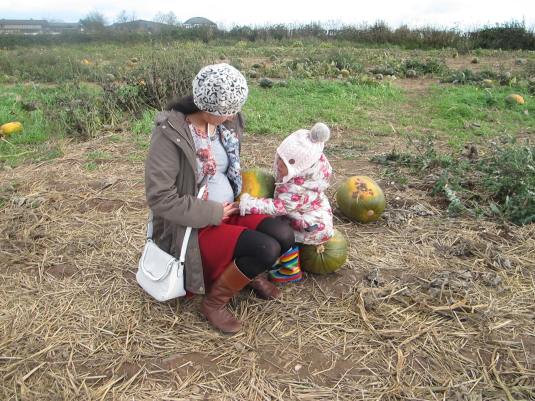
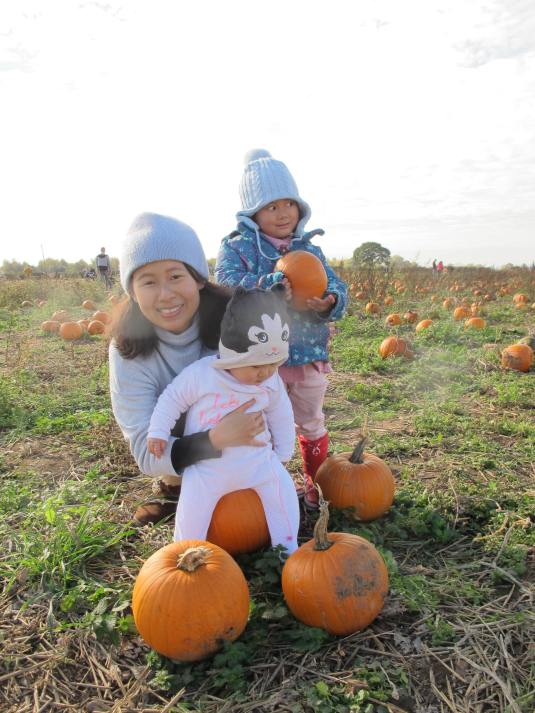
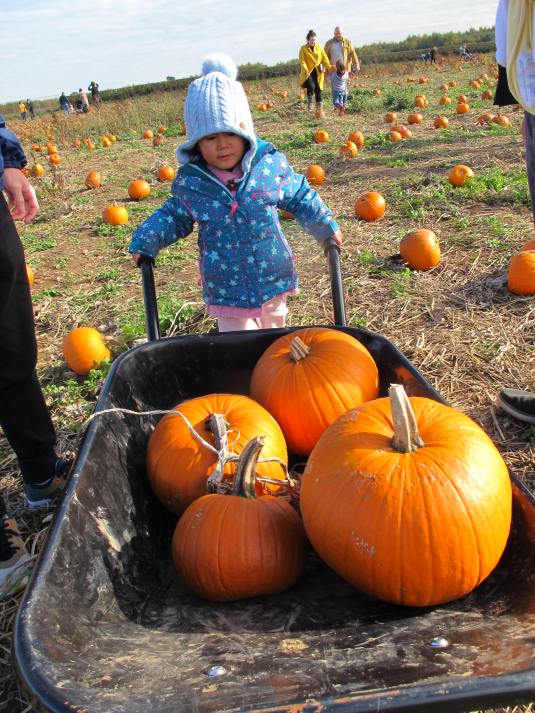
… and today, October 2018 as a family of 4. Surreal to be honest. Do you know what was really handy? Our baby wrap was a fantastic move as we didn’t really want to deal with a super muddy stroller. The wrap we have is from Joy and Joe and its brilliant for less than £20. Initially, the soon to be 4 year old was wary and not too keen to be honest about all the ‘mud’ on the pumpkins. She soon warmed up as she sprinted up and down the farm trying to pick the best ones for her to bring home. Little ones for her collection and a huge one to carve with her daddy. A real adventure for her and also a great lesson that our food does not only come from the shops but they actually grow in soil on a farm.

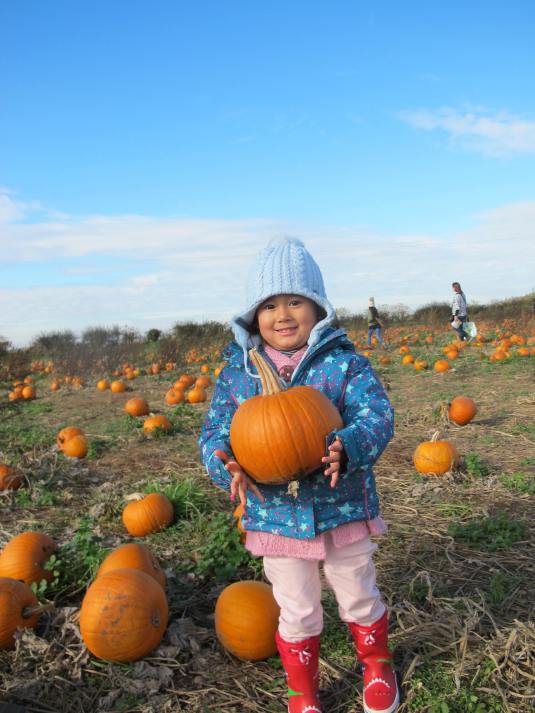

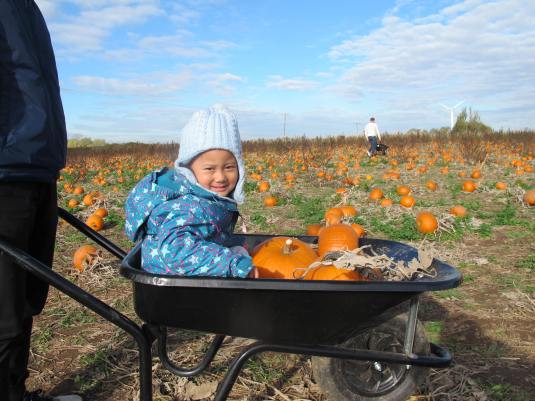
Till next year, Cattows Farm. We had an ace time creating precious childhood memories with our children.
15 Oct 2018 Leave a comment
in Food, Out and About, review Tags: indian food, leicester eats, leicester food, restaurant review
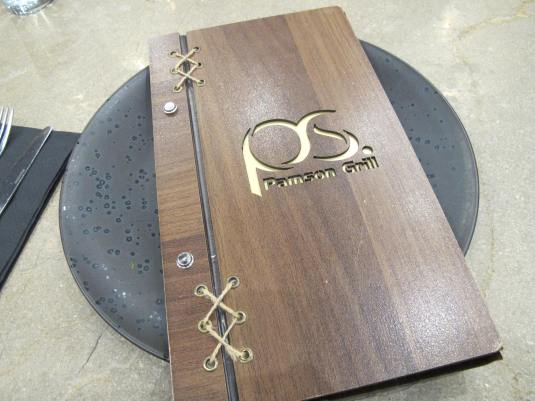
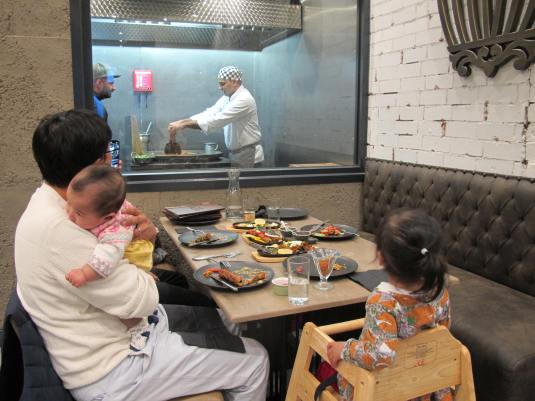
We were pleasantly surprised when we walked into Pamson Grill located off London Road on Highfield Street. The restaurant had absolutely stunning interiors and was spacious, warm and inviting. Beautiful and comfortable, with a very family friendly ambience. They have a kids menu too which is extra fabulous for us as our child does not really eat spicy food. Ps. even black pepper is spicy for her! There was popcorn chicken, fish fingers or pasta for the child to choose from and she declared that their popcorn chicken was Deeeee-licious. I love that they made everything in house instead of some frozen food that they threw in the oven. Fresh popcorn chicken made to perfection for the little one.
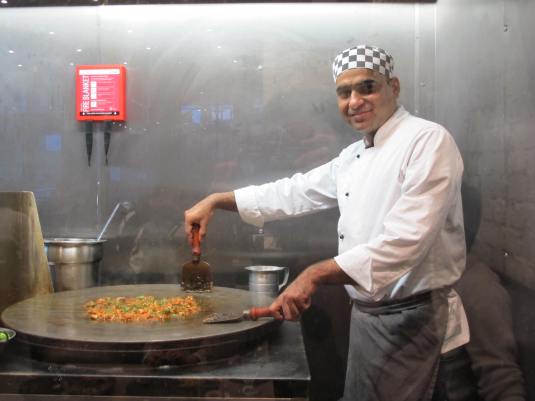
Service was brilliant and the owner, Muhammed gave us very knowledgeable recommendations when we were going through their menu. They truly delivered when it came to their food (the most important thing when it comes to eating out) and gave our family a fantastic authentic Pakistani food experience. We were really impressed at the quality of the food, one bite and you can tell how fresh it is.

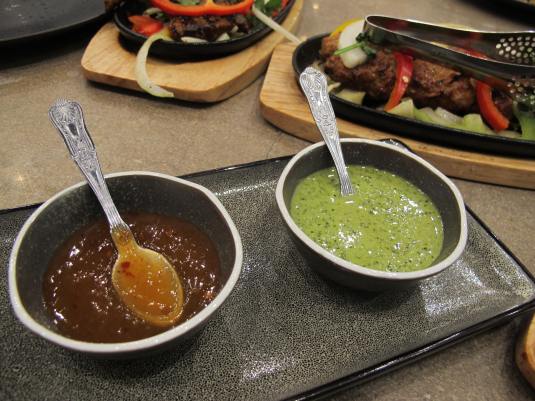
We are huge meat lovers so we were going to order the usual suspects to start : Lamb chops and Seekh Kebabs. They highly recommended we try a vegetarian starter called Papri Chaat. It was my first time trying this dish and the Chaat was excellent.


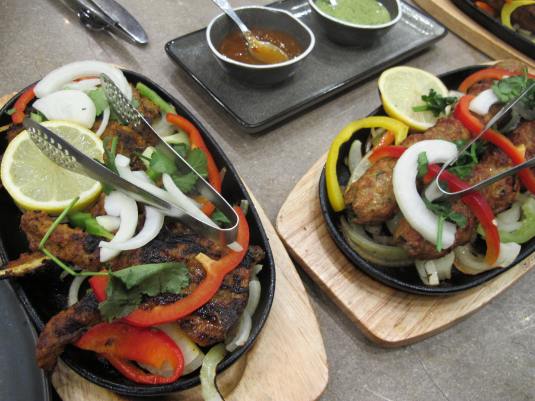
Their starter portions were generous and I would have been happy to skip the mains and go straight to desserts but I was intrigued at what the mains would be like especially when the chef appears in front of you and starts whipping up your meal. My daughter was very amused and she loved the whole experience. The chef cooked their special dish called a Katakat in front of us. We tried their Chicken Tikka Katakat and it was an amazing curry like dish. Their Lamb Karahi was lush, with tender meat and served in a wok! As you probably know, we enjoy eating out and we frequent quite a number of Asian restaurants and I have to say the standard of food here is high and has a feel of a heartwarming homecooked meal.

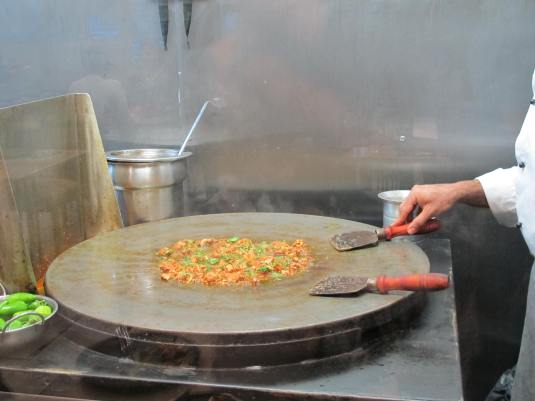
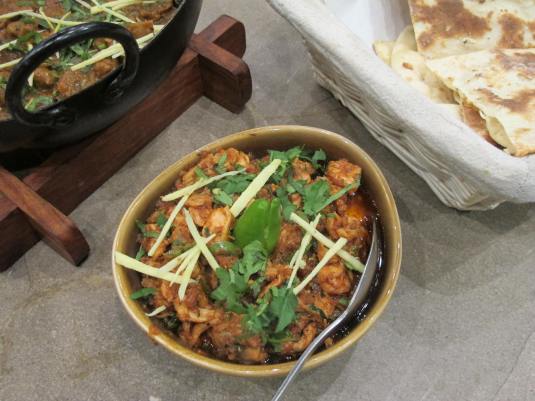
Chicken Tikka Katakat
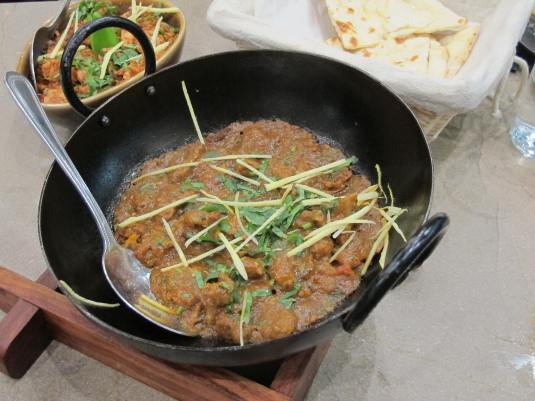
Lamb Karahi
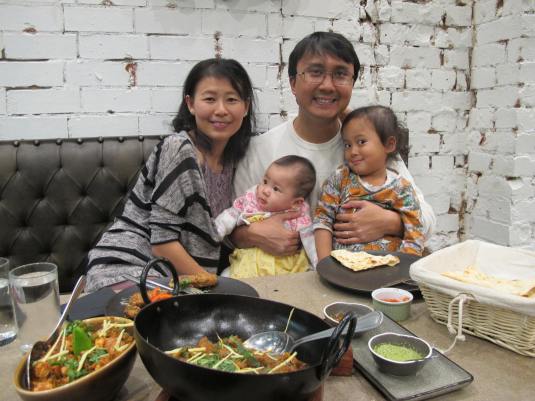
We had an overdose of good Pakistani food at Pamson Grill and I would highly recommend this restaurant for an enjoyable and interesting meal out. We had 2 little ones in tow as always and the meal was still fun and relaxing. I bet we will be regular visitors from now on!
Pamson Grill
8-10 Highfield St
Leicester LE2 1AB
04 Oct 2018 Leave a comment
in Bakeware & moulds, Chocolate, Recipe Tags: brownies, brownies recipe, chocolate
Looking for foolproof recipes? You are in the right place as I do all my baking with the child nowadays when she has special requests. Imagine all the distractions, a baking spatula and lots of ‘I think that is ENOUGH mixing’. This baking ‘challenge’ came along in a very casual conversation about desserts with my 3 year old, and she just slotted ‘Mummy, can we make our own chocolate brownies?’. I promised her that we will do this joyful activity soon and this child never forgets.
‘Mummy, do you remember you said we could bake brownies together?’ ( x 15 )
I stumbled upon this recipe by Dini, The Flavor Bender (yes, I actually googled The Best Chocolate Brownies) and boy oh boy, its a WINNER. I have tried quite a few brownie recipes but there was nothing to shout about .. this one is incredibly LUSH and FUDGY. I have finally found my go to recipe for brownies. So, share I will!
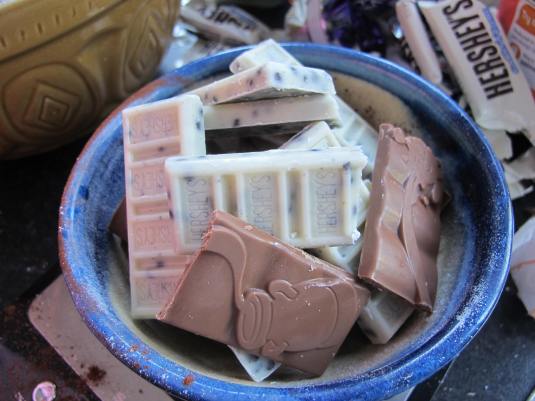
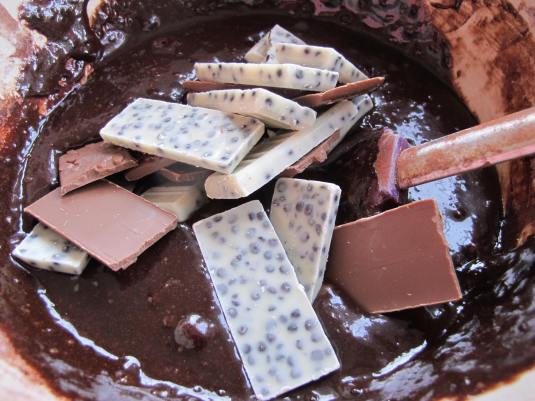
We tweaked the recipe slightly as we had a chocolate emergency! I couldn’t locate any dark chocolate much to the toddler’s delight. We had to open bars and bars of little Hersheys and Cadbury milk chocolate. You can tell its a kids idea to mix chocolate .. as if a chocolate brownie will not be ‘chocolatey’ enough.
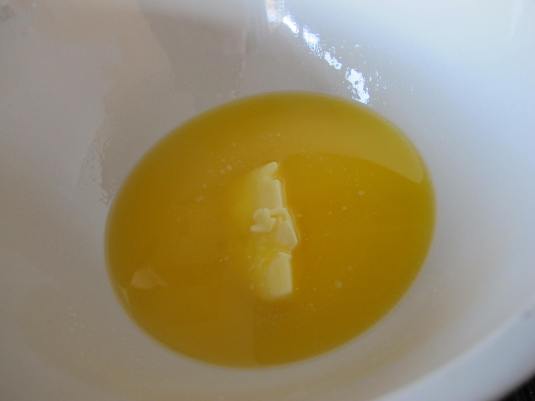
This recipe calls for warm melted butter. Oh I love butter, please even my child is obsessed with butter. She was eating chunks of butter before we even got started.
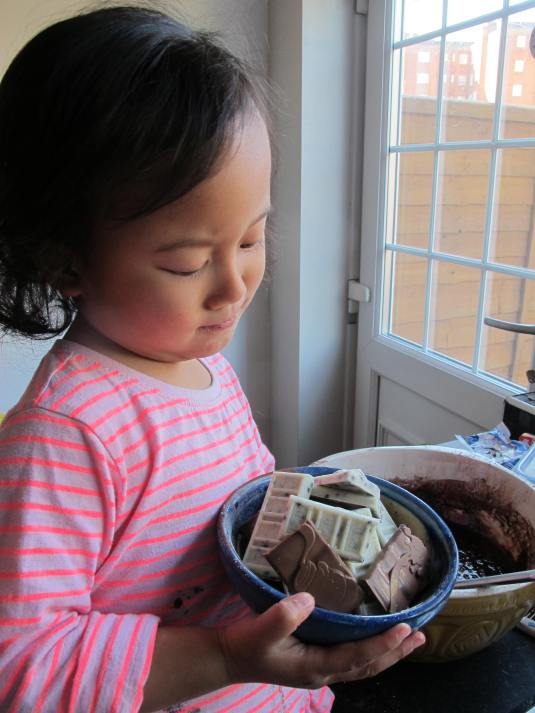
Not as many pictures of us actually making the brownie mix as its no joke trying to bake something edible and trying to micro manage the child and a sleeping baby.
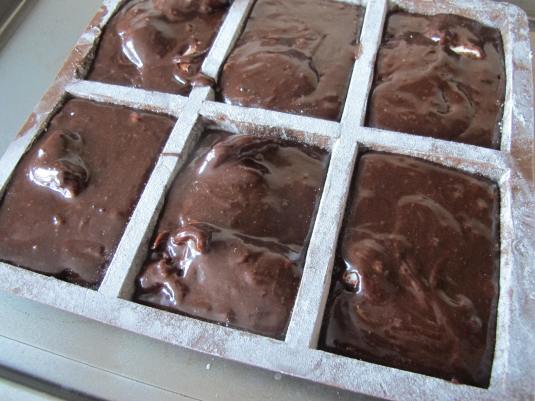
We used bar type moulds (oh they are clever!) as I never look forward to slicing them and then cleaning the knife blade after every cut. My edges are never neat and clean anyways and always lob – sided . Whoops. Well well, I found the perfect trick that the child really liked as well. ‘Brownie blocks’ eh?
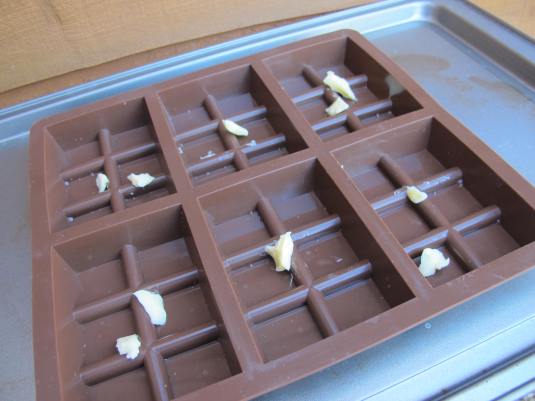
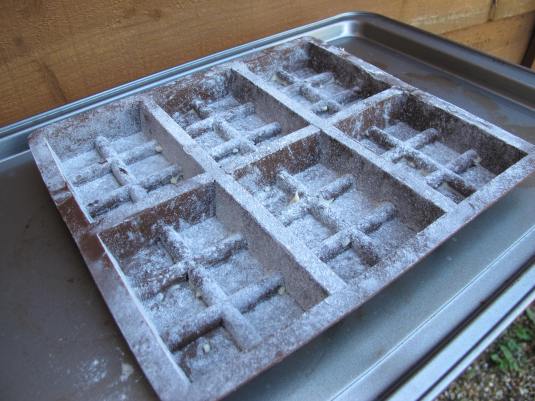
I like to grease and flour my moulds before adding batter. Added security measure although you can also skip this step and make sure its properly cooled before popping them out.
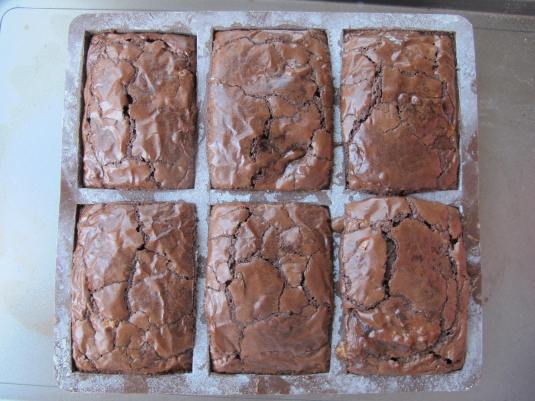
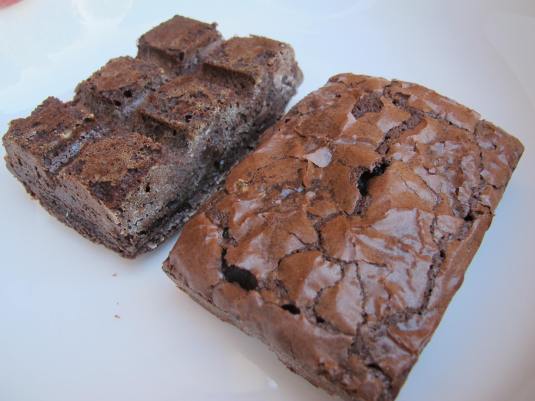
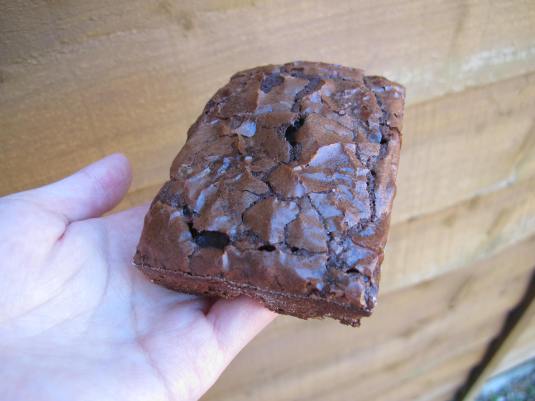
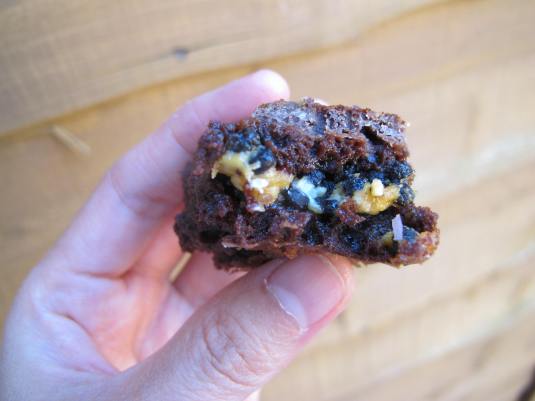
Seriously, just look at that beautiful brownie crust. Its just so nice and crackly and very inviting. ‘Come and sink your teeth in me, hurry.’

Peek at the serration from the mould. It was perfect for playgroup. It became bite-sized in seconds. No hassle 🙂
Look at the child’s chocolate choice. It made the brownie very enjoyable in fact. The Hershey’s Cookie And Creme Bar was gooey and crunchy and a really nice addition I must add. (It was a ‘ran out of dark chocolate’ emergency if you recall)
227g butter
170g brown sugar (1/2 cup)
170g white sugar (1/2 cup)
1/4 teaspoon salt
Melt butter. We used a bowl over a saucepan of boiling water, you can also use the microwave. Use very warm butter. Add sugars and salt whilst it is warm and combine till you have a smooth mixture.
3 eggs
1 yolk
1 teaspoon vanilla extract
Add the eggs and vanilla to the mixture. Whisk in the eggs until they have been incorporated into the butter sugar mix. You can use a hand mixer (much easier), whisk the butter-sugar-egg mix until the batter becomes pale in color. We used lots of ‘manual strength’. Just a spatula and a whisk 🙂
128g flour (2/3 cup)
80g cocoa powder (2/3 cup)
Sift and add into mixture. Mix until just combined. This is where I have to reinforce to the child that there should be no more mixing
226g ‘dark chocolate chunks’ ( We used 90g milk choc and 136g Hersheys )
We threw this in last, gave the mixture a little swirl with the spatula and poured the batter in to the mould.
Bake for 35 minutes at 176°C (350F).
Till the next bake or restaurant review?
Lots of love. xx


